Introducing Magic Art, our AI sticker feature

At Paperless Post, we believe every Card deserves to be as unique as the person sending it. Whether it’s an invitation to a milestone birthday, a heartfelt thank you card, or a holiday greeting sent to friends and family, every Card tells a story worth personalizing. That’s why we’re excited to introduce Magic Art, our new AI-powered sticker tool that lets you design custom illustrations—instantly.
Think of it as your own creative studio inside Paperless Post. Want a sunflower that matches your wedding bouquet? A friendly ghost for a kids’ Halloween party invitation? Or maybe a sketch of your dog for this year’s Christmas card? Magic Art makes it possible. Bring your vision to life, personalize your design, and create a one-of-a-kind Card that’s as meaningful as the message inside. We’ll walk you through the simple process in this step-by-step guide.
How to use Magic Art
Step 1: Select a Card
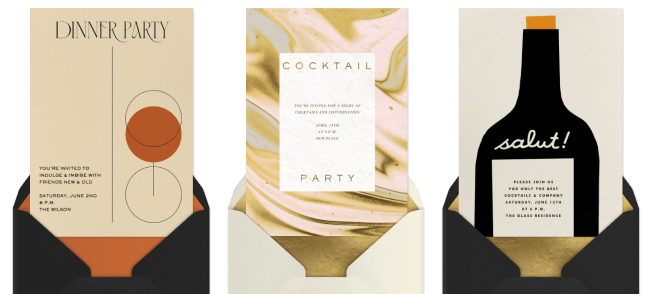
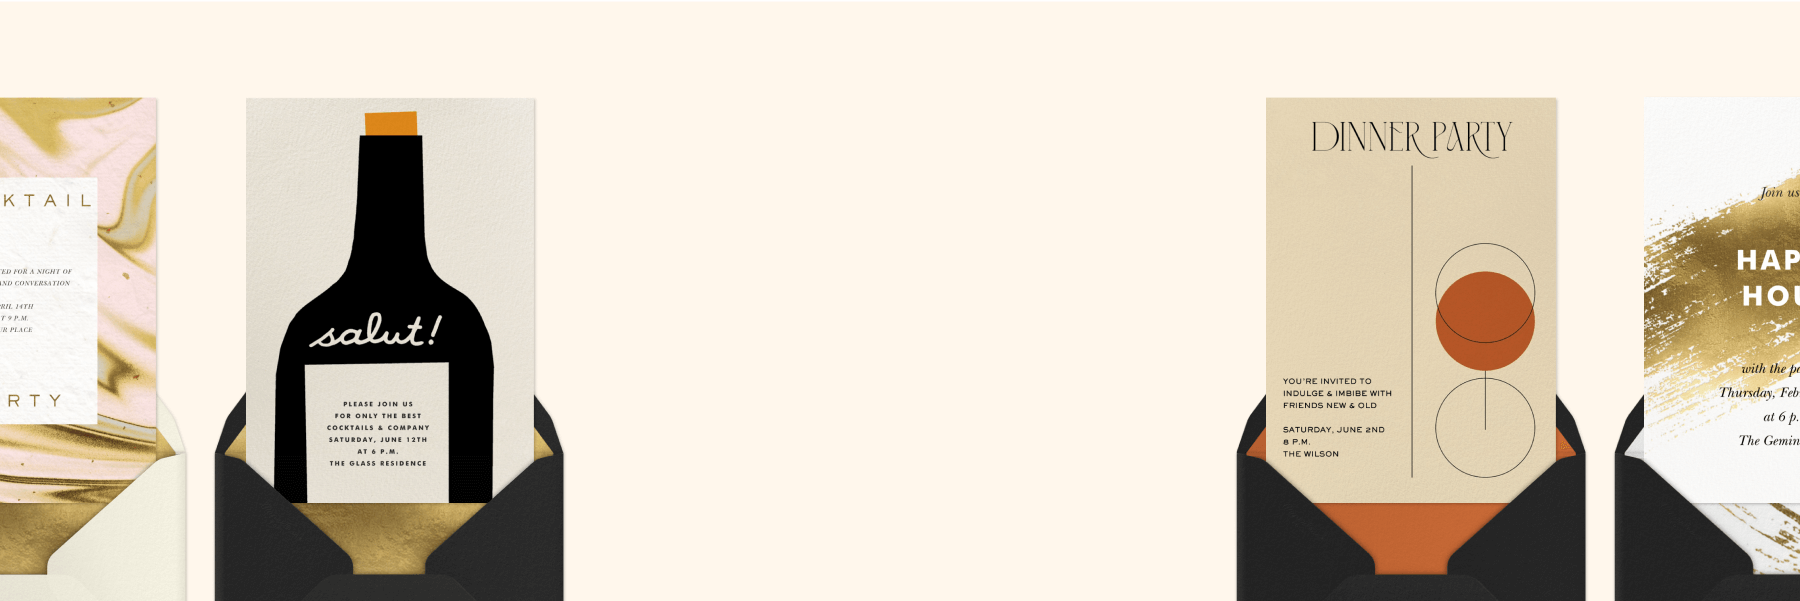
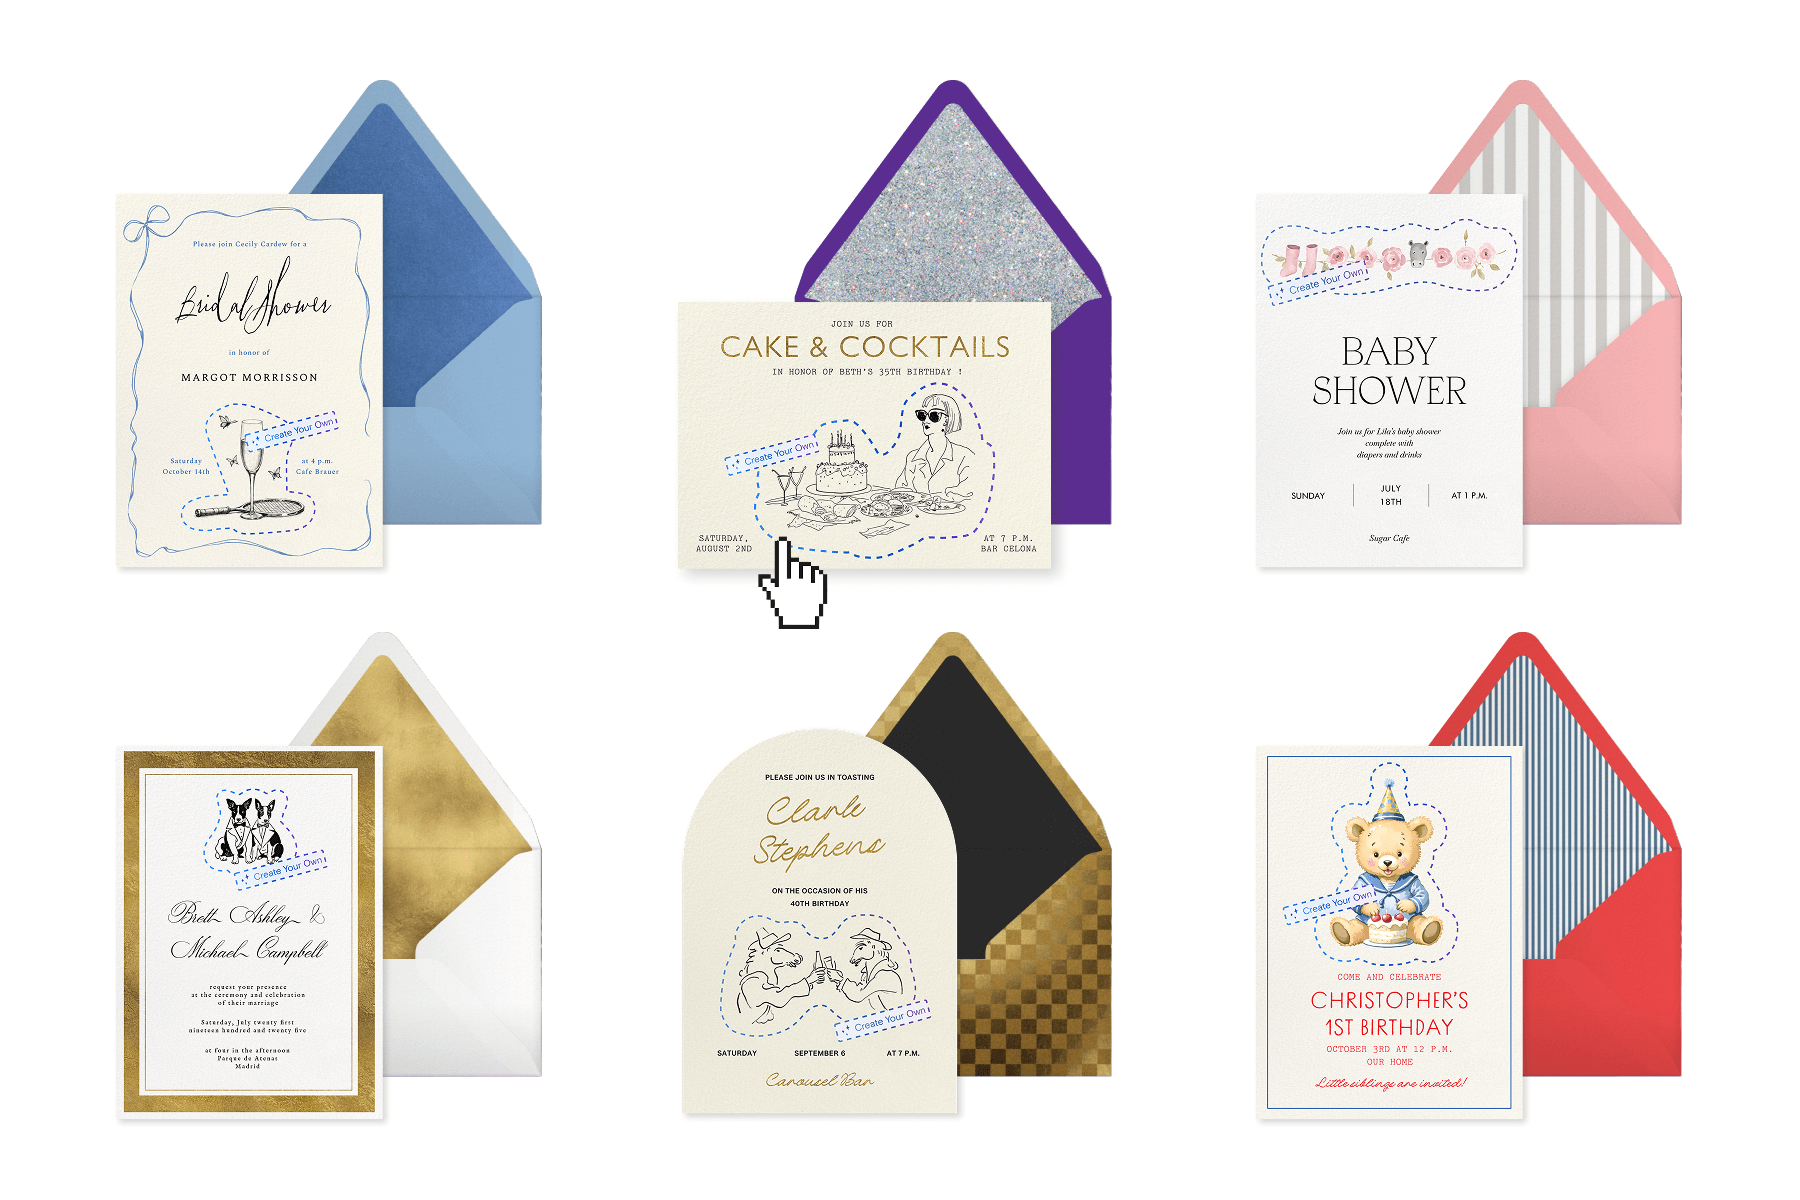
To get started, choose your design from thousands of Cards—whether you’re planning a golden birthday, hosting a scary-fun Halloween bash, or sending out a birth announcement. Magic Art is available exclusively for Cards (not Flyers), so you’ll want to begin by picking the Card design that best fits your occasion.
Choose from one of our Magic Art Cards, designed specifically to spotlight your creation, or add a custom sticker to personalize any design from our expansive range of templates.

Step 2: Add details and customize your Card
Once you’ve picked your Card, start making it your own. Add in all the important event details, experiment with fonts and text sizes, and play with envelope colors, liners, and backgrounds. Don’t worry if you’re not ready to finish every detail—you can always come back and make updates later.
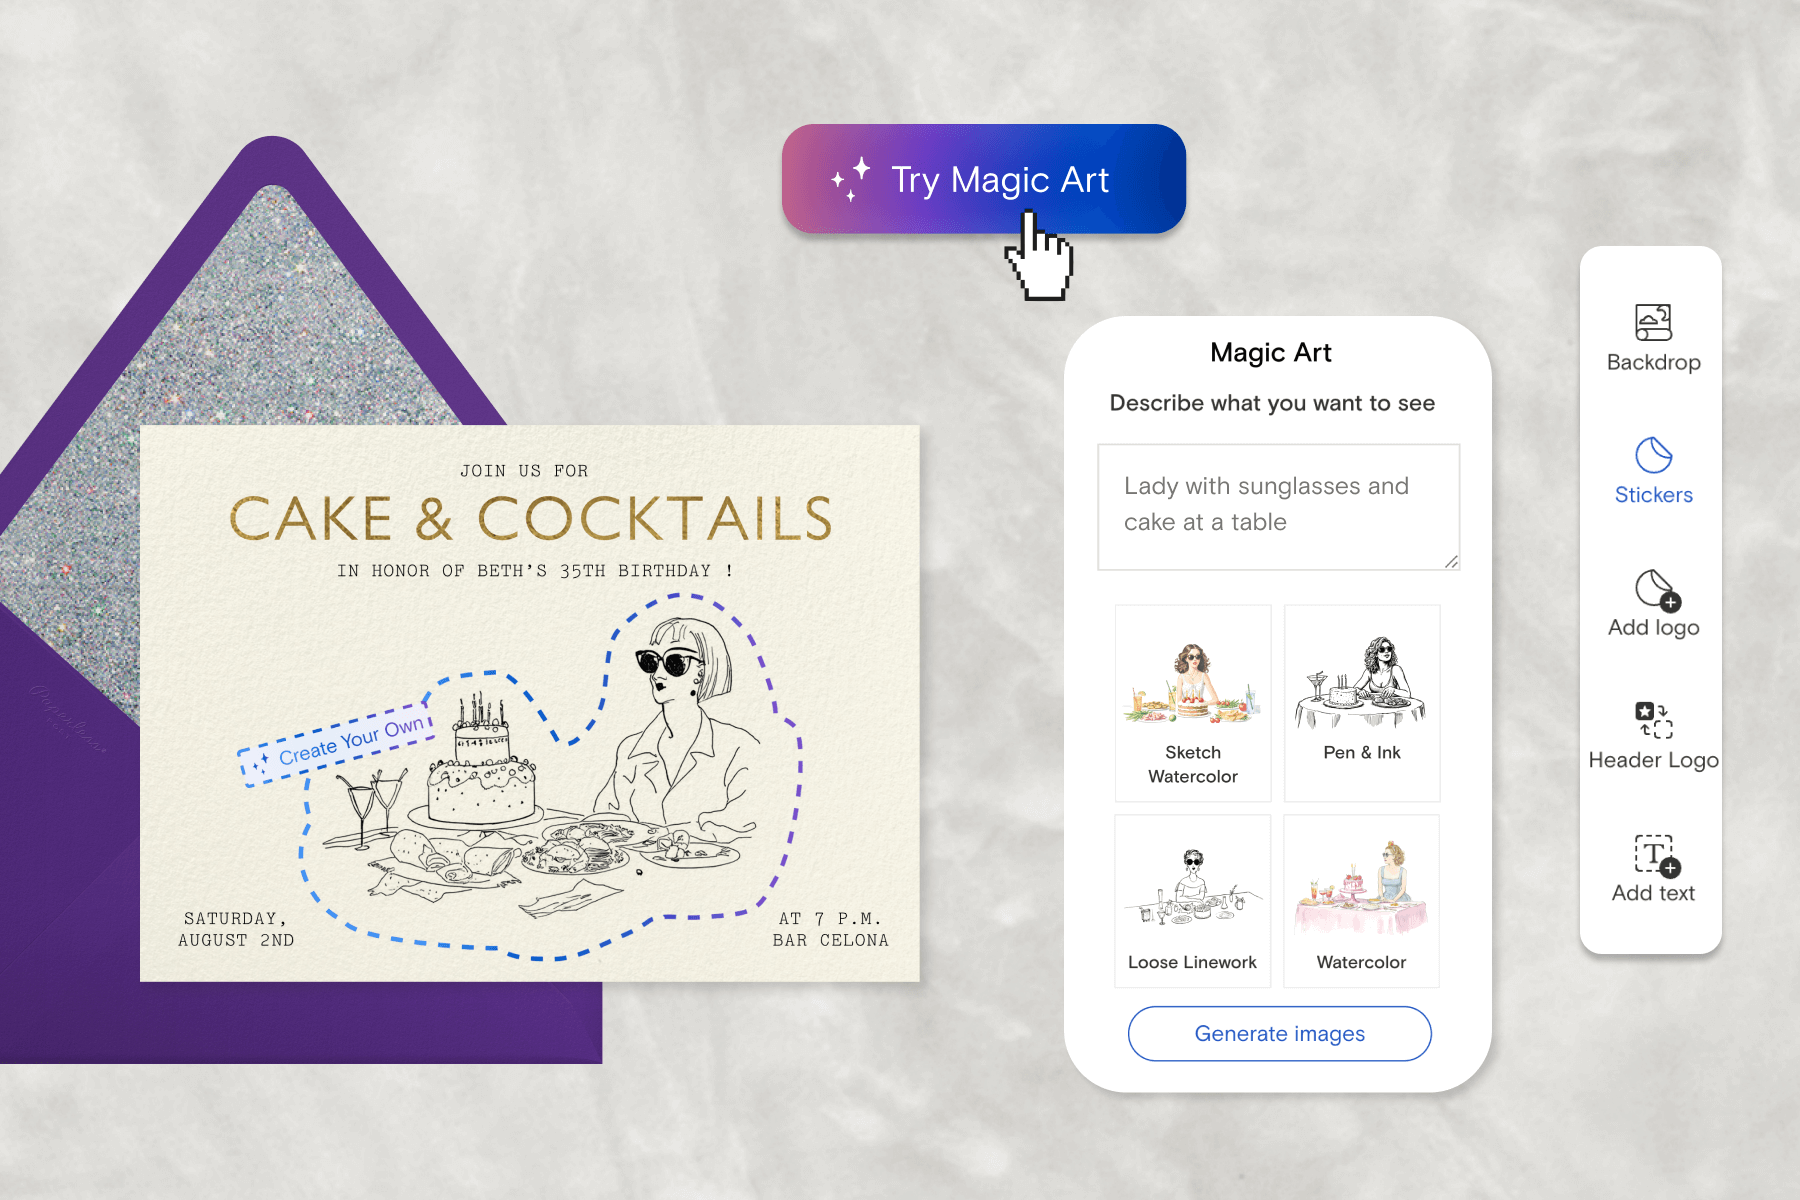
Step 3: Create a custom sticker with Magic Art
Now for the fun part! Head to the “Stickers” tab on the left-hand side of your Card’s Create/Edit page, and click “Try Magic Art.”
You’ll be prompted to type in a description of the sticker you’d like to make. Here’s where specificity matters! Instead of typing something broad, like “birthday cake,” try: “three-tiered birthday cake with pink icing and sparkler candles.” The more detail you provide, the more likely you are to get a sticker that matches your vision.
Next, choose from four curated illustration styles to give your sticker the right look:
- Sketch Watercolor: Sketched watercolor and linework full of color for a classic feel
- Pen & Ink: Black and white, fine details, and perfect for a retro feel
- Loose Linework: Black and white, minimalist, and modern with a hand-drawn look
- Watercolor: Colorful, painterly watercolor for an elegant look
Once you’ve chosen your style, click “Generate image” and watch the magic happen. If your first attempt isn’t quite right, tweak your description and try again. Because the tool is AI-generated, there are limits to what Magic Art can create. For more information on our AI content guidelines, take a look at the article here.
Pro tip: Magic Art saves your four most recent prompts, so if you love a sticker and want to use it on another Card later, you can easily find it again.

Step 4: Add to your Card
When you’re happy with your new sticker, click it to place it on your Card. From there, you can resize, rotate, and move it around until it feels just right. Want multiple versions? Right-click to duplicate your sticker—or flip it horizontally or vertically for even more flexibility.
You can make your sticker the star of the show by enlarging it to be the central design, or keep it subtle by using it as a small accent. The choice is yours!

Step 5: Finish designing and send
Once your sticker is placed and you’re happy with your design, complete the finishing touches. Add your digital stamp, fill in the event details, and you’re ready to send.
Create a one-of-a-kind invitation with Paperless Post

With Magic Art, your invitations and cards are no longer limited by pre-set designs—you can express yourself in new, unique ways. Whether it’s a sprig of holly for a holiday greeting, a hand-drawn soccer ball for your child’s team party, or a skyline illustration for a housewarming, the possibilities are endless.
Try out Magic Art today and let your creativity shine. Because no two celebrations are alike—and now, your Cards don’t have to be either.
Whatever the occasion, find exclusive designs to suit your style and make planning a breeze.