How to make a memorable wedding website in 9 easy steps
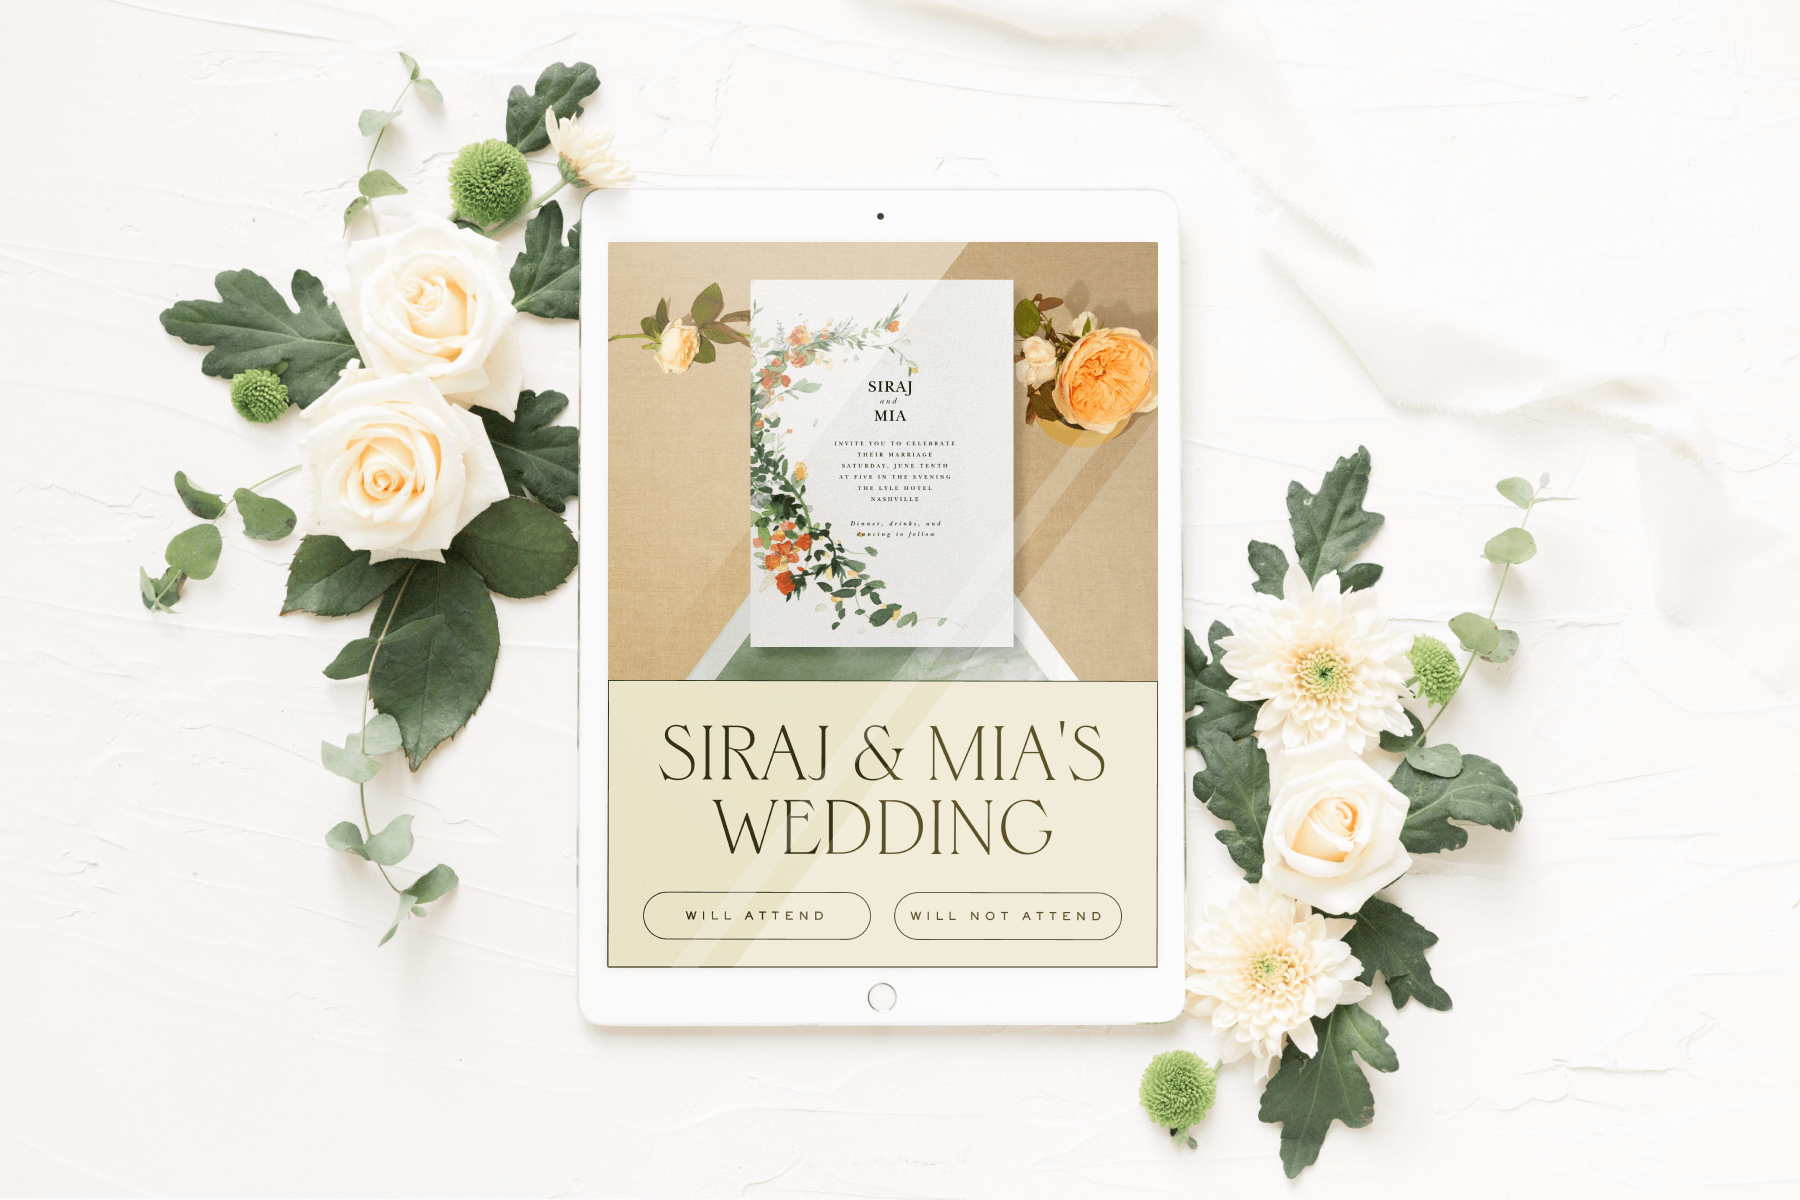
Now that you’ve said “yes!” to your partner’s big question, the two of you have some exciting planning to do—and what better way to share information and communicate with your guests about your upcoming nuptials than with a wedding website?
A wedding website is an essential tool for organizing event details, adding important info about your celebration, and getting guests excited about your big day, all in one convenient place. Most wedding websites cover the following information:
— Name of the couple
— Date, time, and location of wedding
— Information on accommodations, such as block pricing and shuttle service
— Photos of the couple
— Photos and introductions of bridesmaids and groomsmen, if you’re having them
— Links to gift registries
For the most streamlined experience possible, we recommend creating your entire wedding website right on the same event page as your Paperless Post wedding invitations. This way, your guests can view your invitation, RSVP, and receive updates from you all in one place for total convenience. Find out how with this easy guide.
Table of Contents
1. Gather your information
The purpose of a wedding website is communication, making sure you can help your loved ones get together at the right place and time. If you have multiple wedding weekend events planned, it’s a good idea to mention only the celebrations that the entire guest list is invited to so that nobody is confused about attendance (or hurt by not receiving an invitation).
Events like a rehearsal dinner, where the list is usually limited to wedding party members and immediate family, should be kept off the general information on your wedding website, and be addressed instead with a separate invitation.
What do I include on my wedding website?
When creating your wedding website with Paperless Post, including the following details will set your guests up for success.
— The date and time of your wedding
— The location of your ceremony and reception
— Dress codes, if any
— Whether children are invited to your event
— Links to your wedding gift registries
— Accommodation information for out-of-town guests
— Hotel and travel information for destination weddings
— Driving directions and parking information
— A schedule of the day’s events
In addition to the essential information about the day or weekend, your wedding website is also a lovely place to include touching details about your love story. Photos from your engagement or meaningful moments are always welcome and give guests a glimpse into the relationship you share. You can also use your wedding website as an opportunity to introduce the members of your wedding party.
Out-of-towners often make a multi-day stay when attending a wedding. If you wish, including fun things to do, your favorite restaurants, and sights to see is considerate and helpful to those with spare time.
1. Choose your invitation
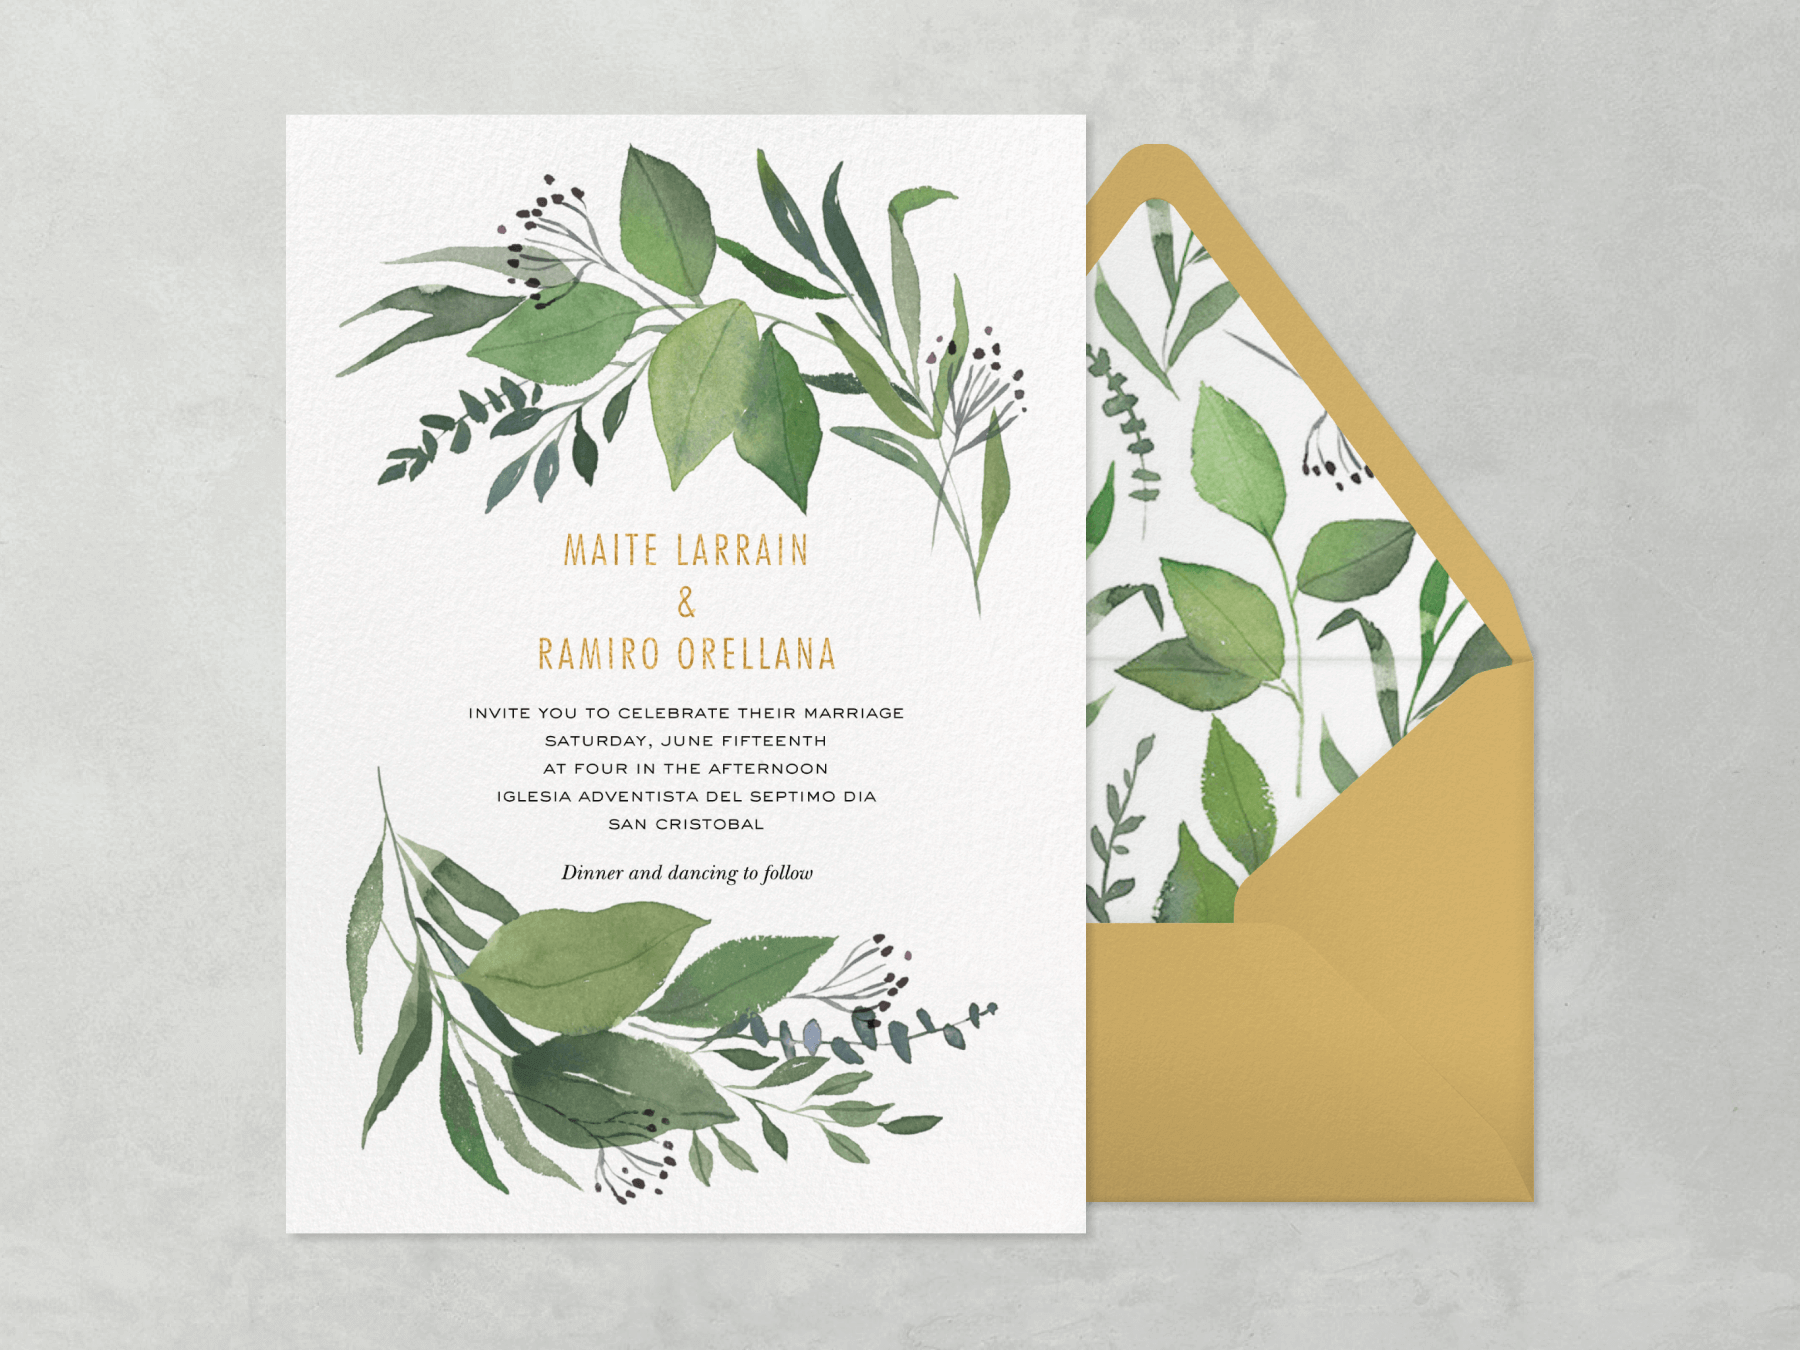
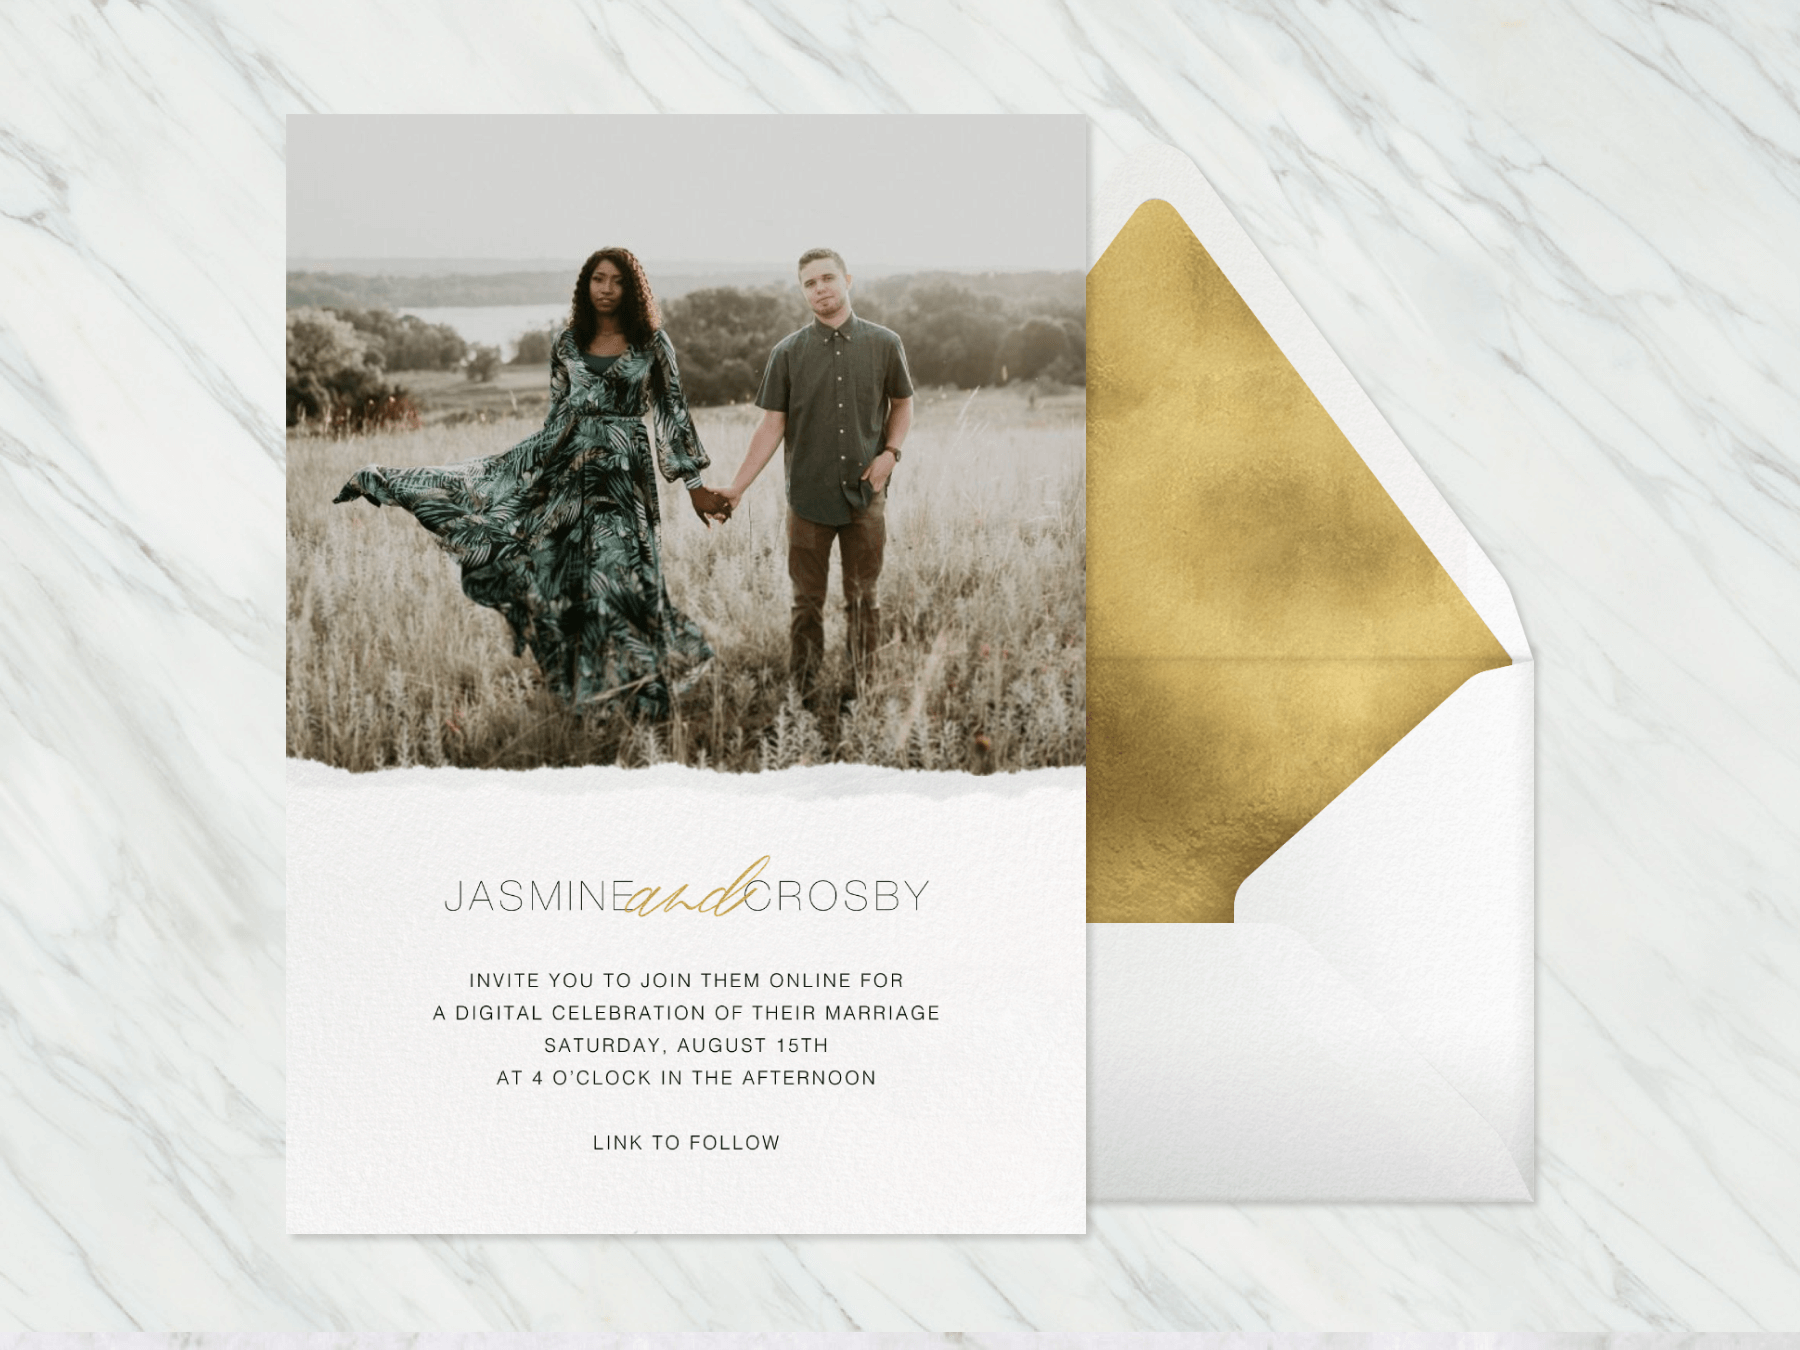
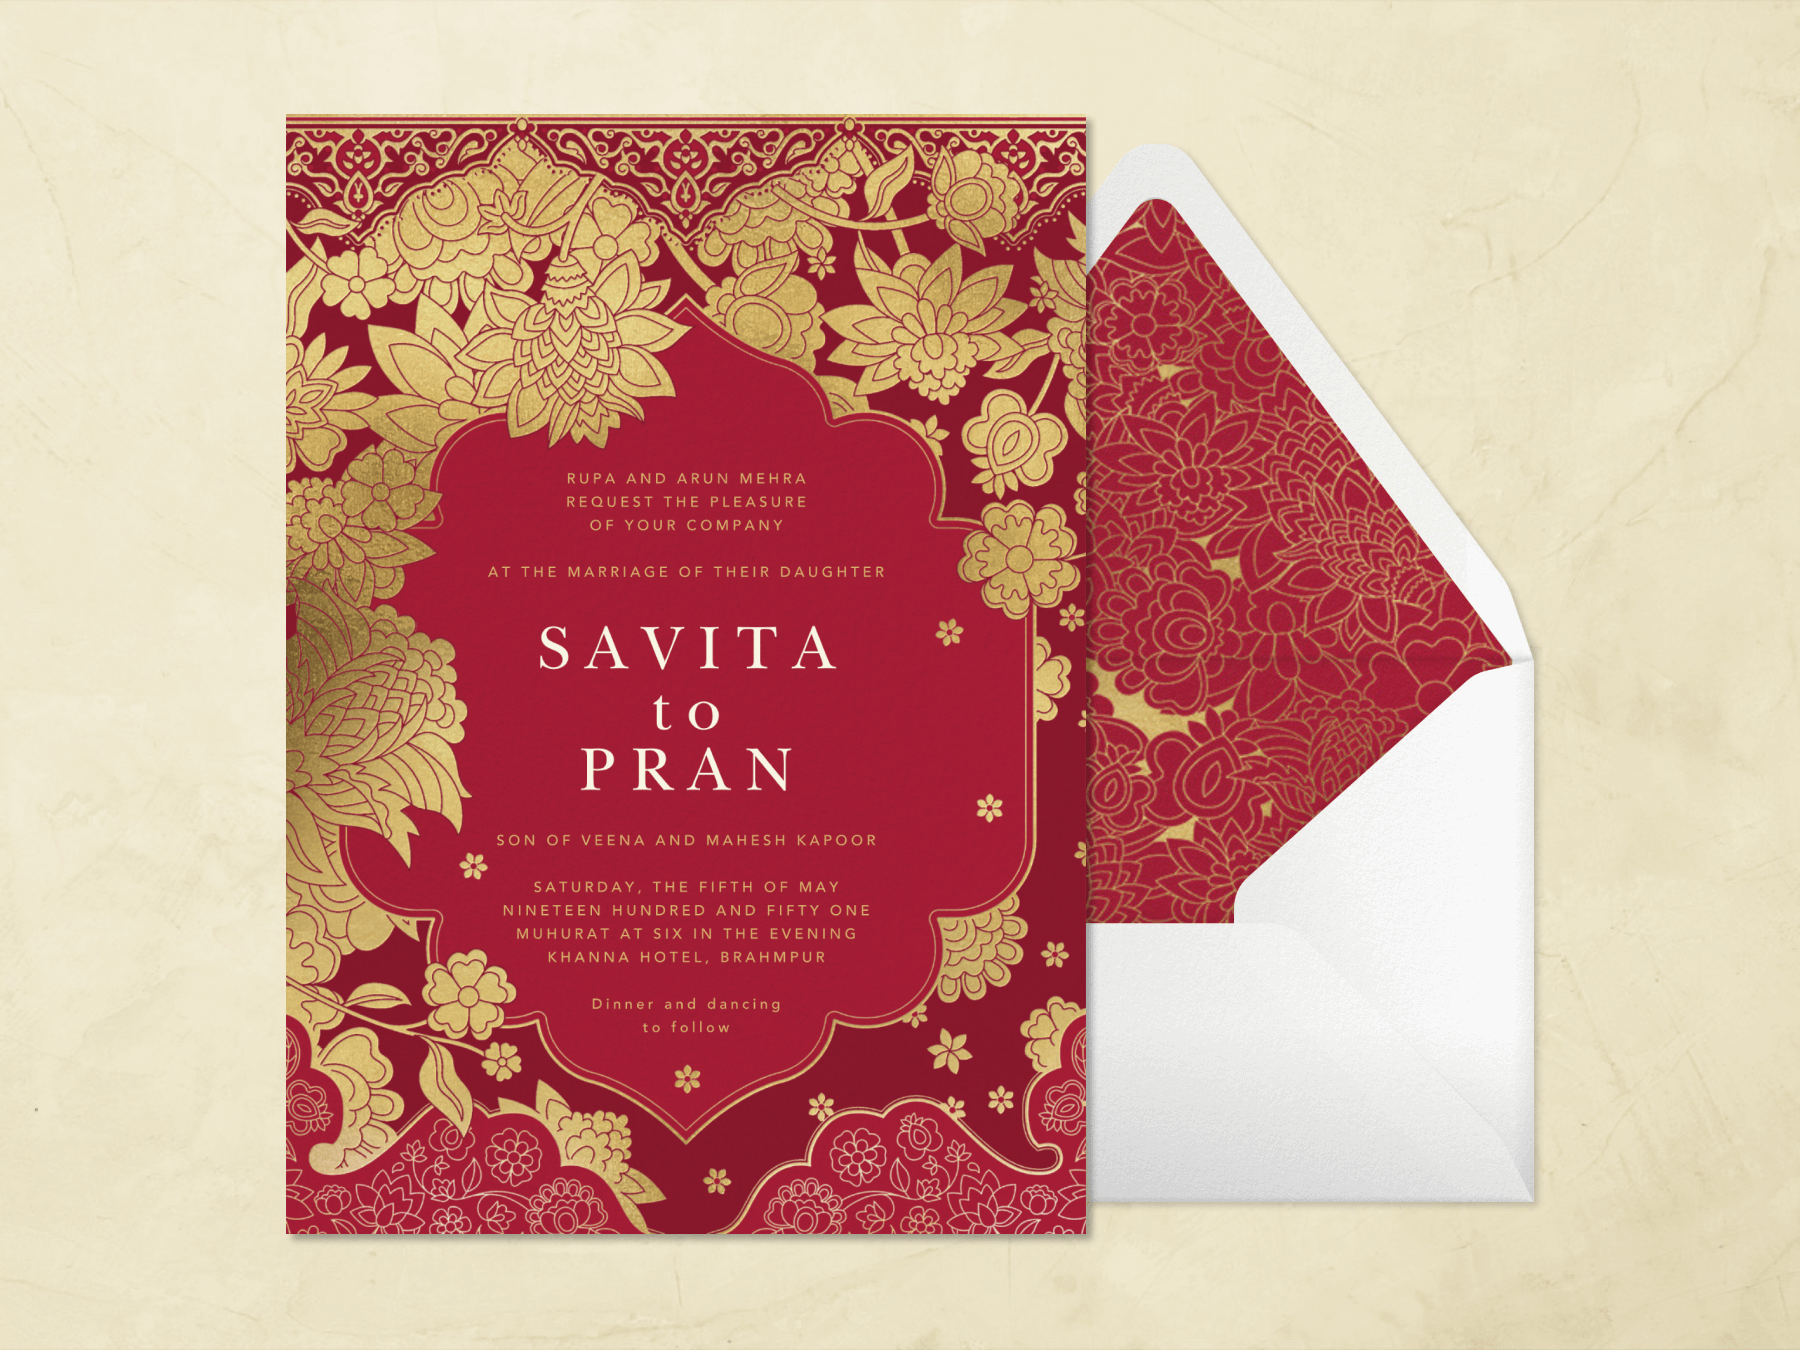
Creating your event page and sending invitations with Paperless Post is easy with our wide selection of stunning wedding invitations. Customize your invitation with our user-friendly tools, or reach out to our Personal Design Services team to help you adjust colors, translate your invitation into different languages, and create one-of-a-kind artwork to suit your theme.
When you use Paperless Post Cards or Flyers as your wedding invitations, there’s no need to create a separate wedding website. Instead, you can add all the useful information your guests will need to know (and then some!) on the very same event page your invitations live on—along with access to our helpful communication and guestlist management features.
2. Customize your invitation
Once you’ve chosen a wedding invitation that speaks to your personality and [wedding theme ideas], click “Customize” to begin editing it to your liking. Use the menu of design tools on the left side of your screen to experiment with fonts, layout, colors, and more.
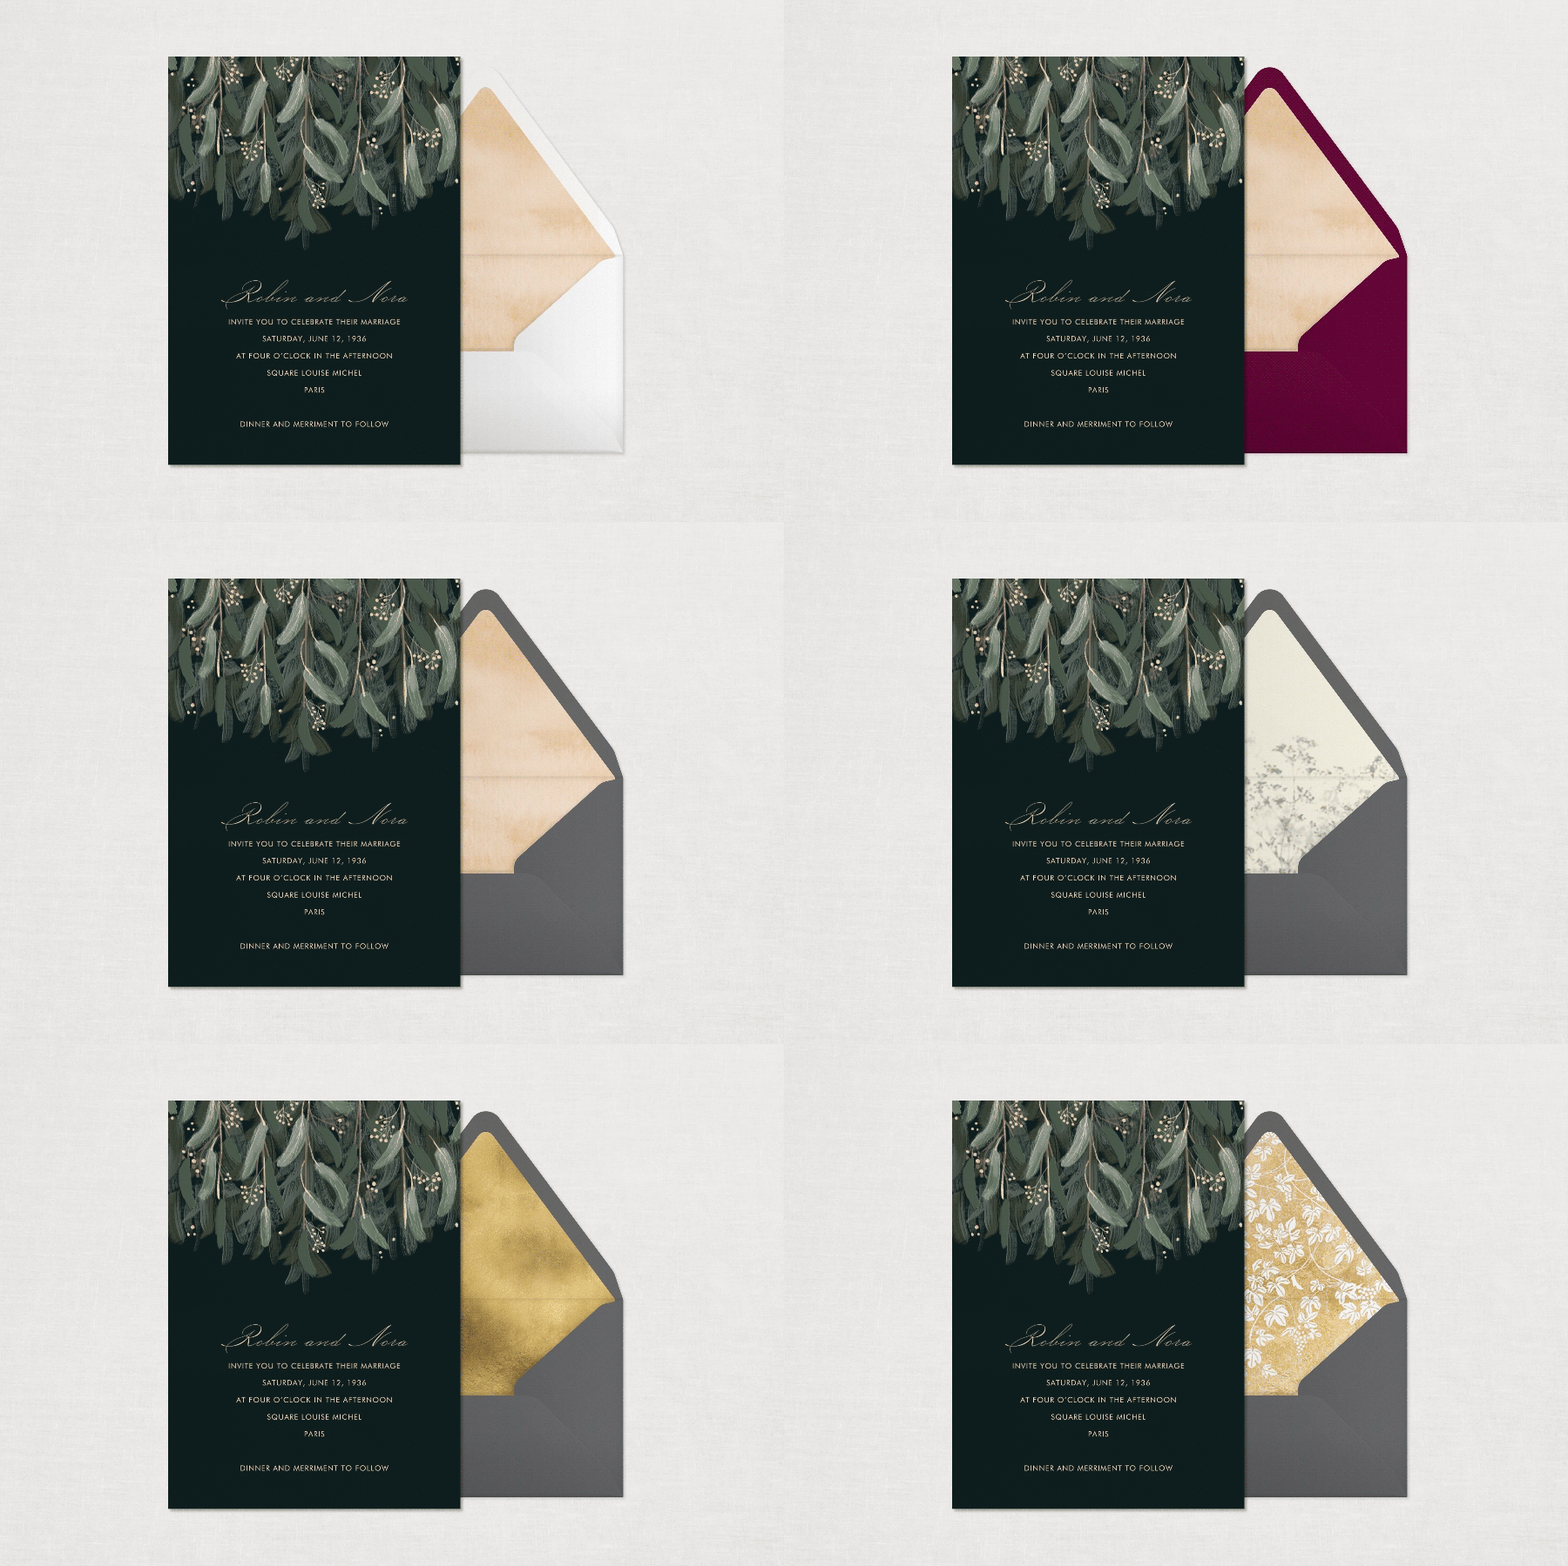 “Verdure” by Paperless Post.
3. Customize your stamp and envelopes
Paperless Post digital invitations come with many of the same exciting bells and whistles as printed ones, including picking the stamp, envelope, and liner you love. Start by selecting the envelope color and liner design that adds that little something extra to your invitation. Then choose from dozens of pre-designed stamps, or upload a photo from your engagement shoot for a uniquely personal feel.
4. Create your event page
Once you’ve nailed the design of your invitation and envelopes, it’s time to customize your wedding website event page. Start by naming your event. Including both of your first names in the possessive form and the word ‘wedding’ is a classic option, or be as creative as you want. If your wedding is being hosted by your family, add their names as hosts. Select the date and time on the calendar, and add the venue’s name and address.
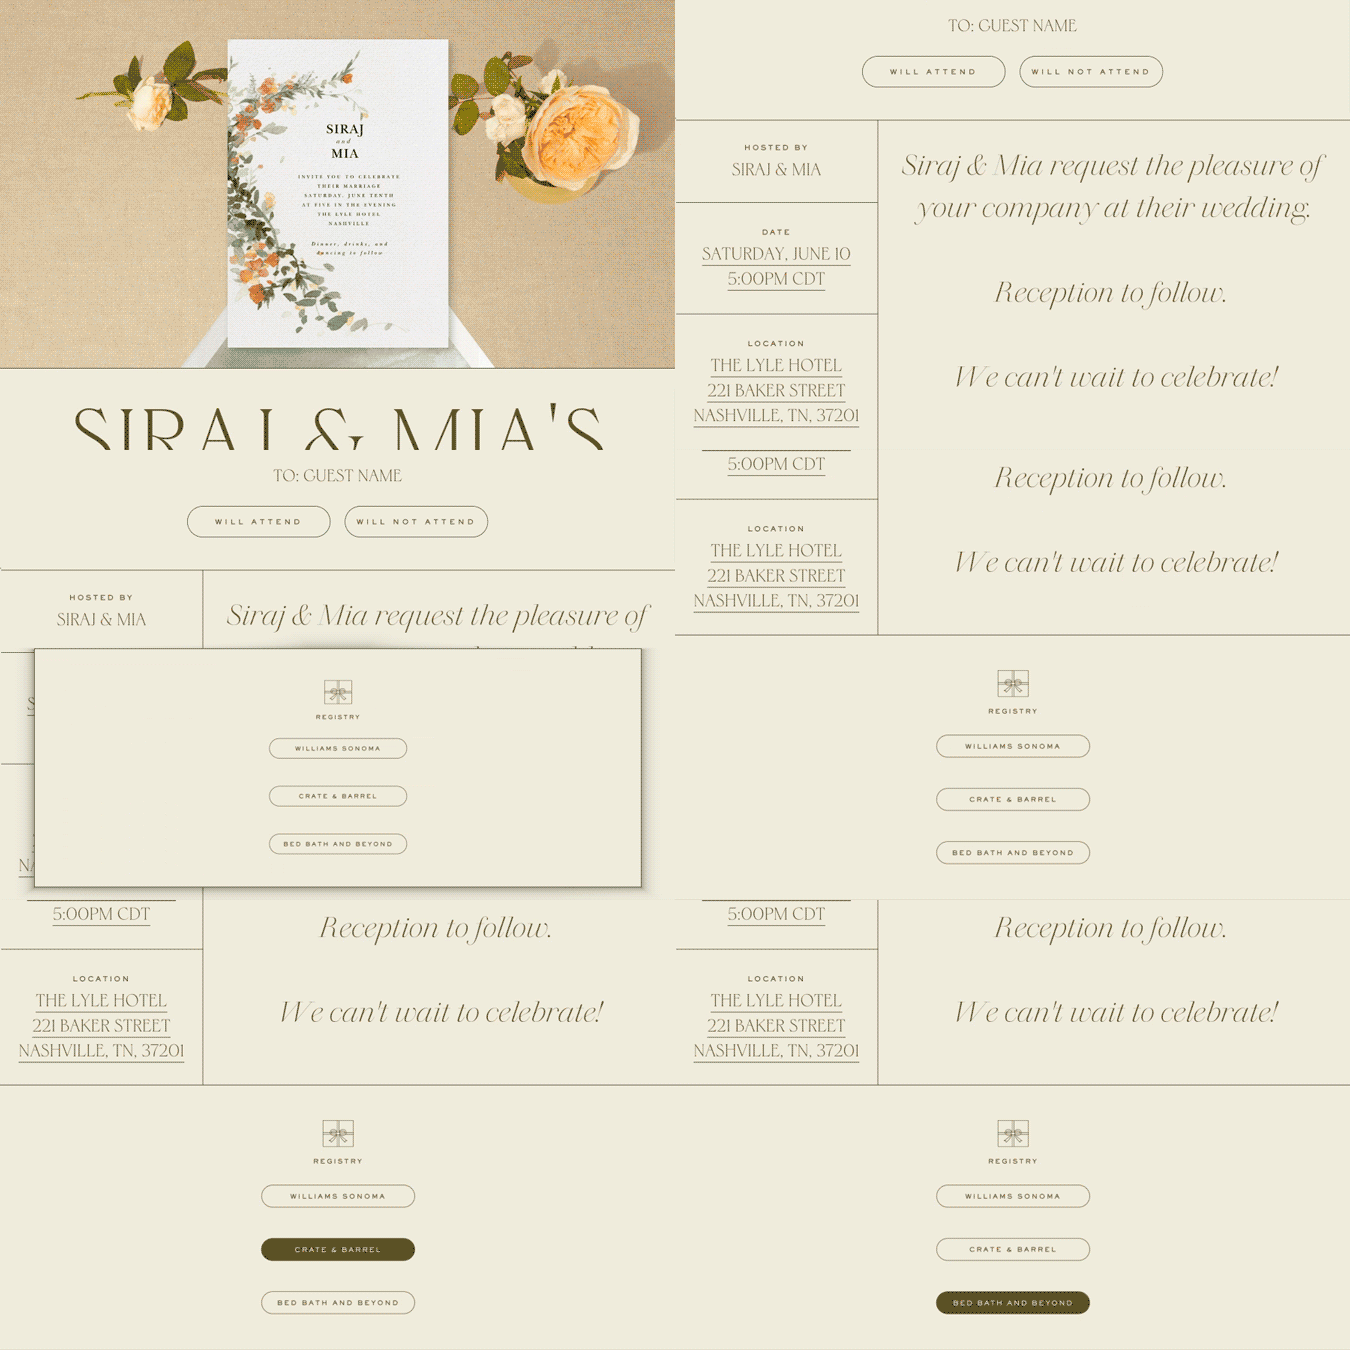
5. Add extra details and links
Now it’s time to transform your invitation’s event page into an information hub with Blocks. Instead of cluttering your invitation with too many details or linking out to a whole different website, you’ll be able to add things like a schedule, dress code, guests of honor (like the wedding party), and any travel or accommodation details you want your guests to be aware of. Simply click on the relevant Blocks category on the menu and fill in your information.
Want your guests to know which gifts you’d love to receive? Add a Registry Block that links out to your wedding registries. Our guide to wedding registry essentials covers all the basics of having a registry, along with ideas and inspiration to get you started.
You can also add a Photo Gallery Block or two to add some storytelling to your wedding website, such as a gallery of engagement photos, a timeline of your love, or more information about your wedding party.
6. Finalize your guest list
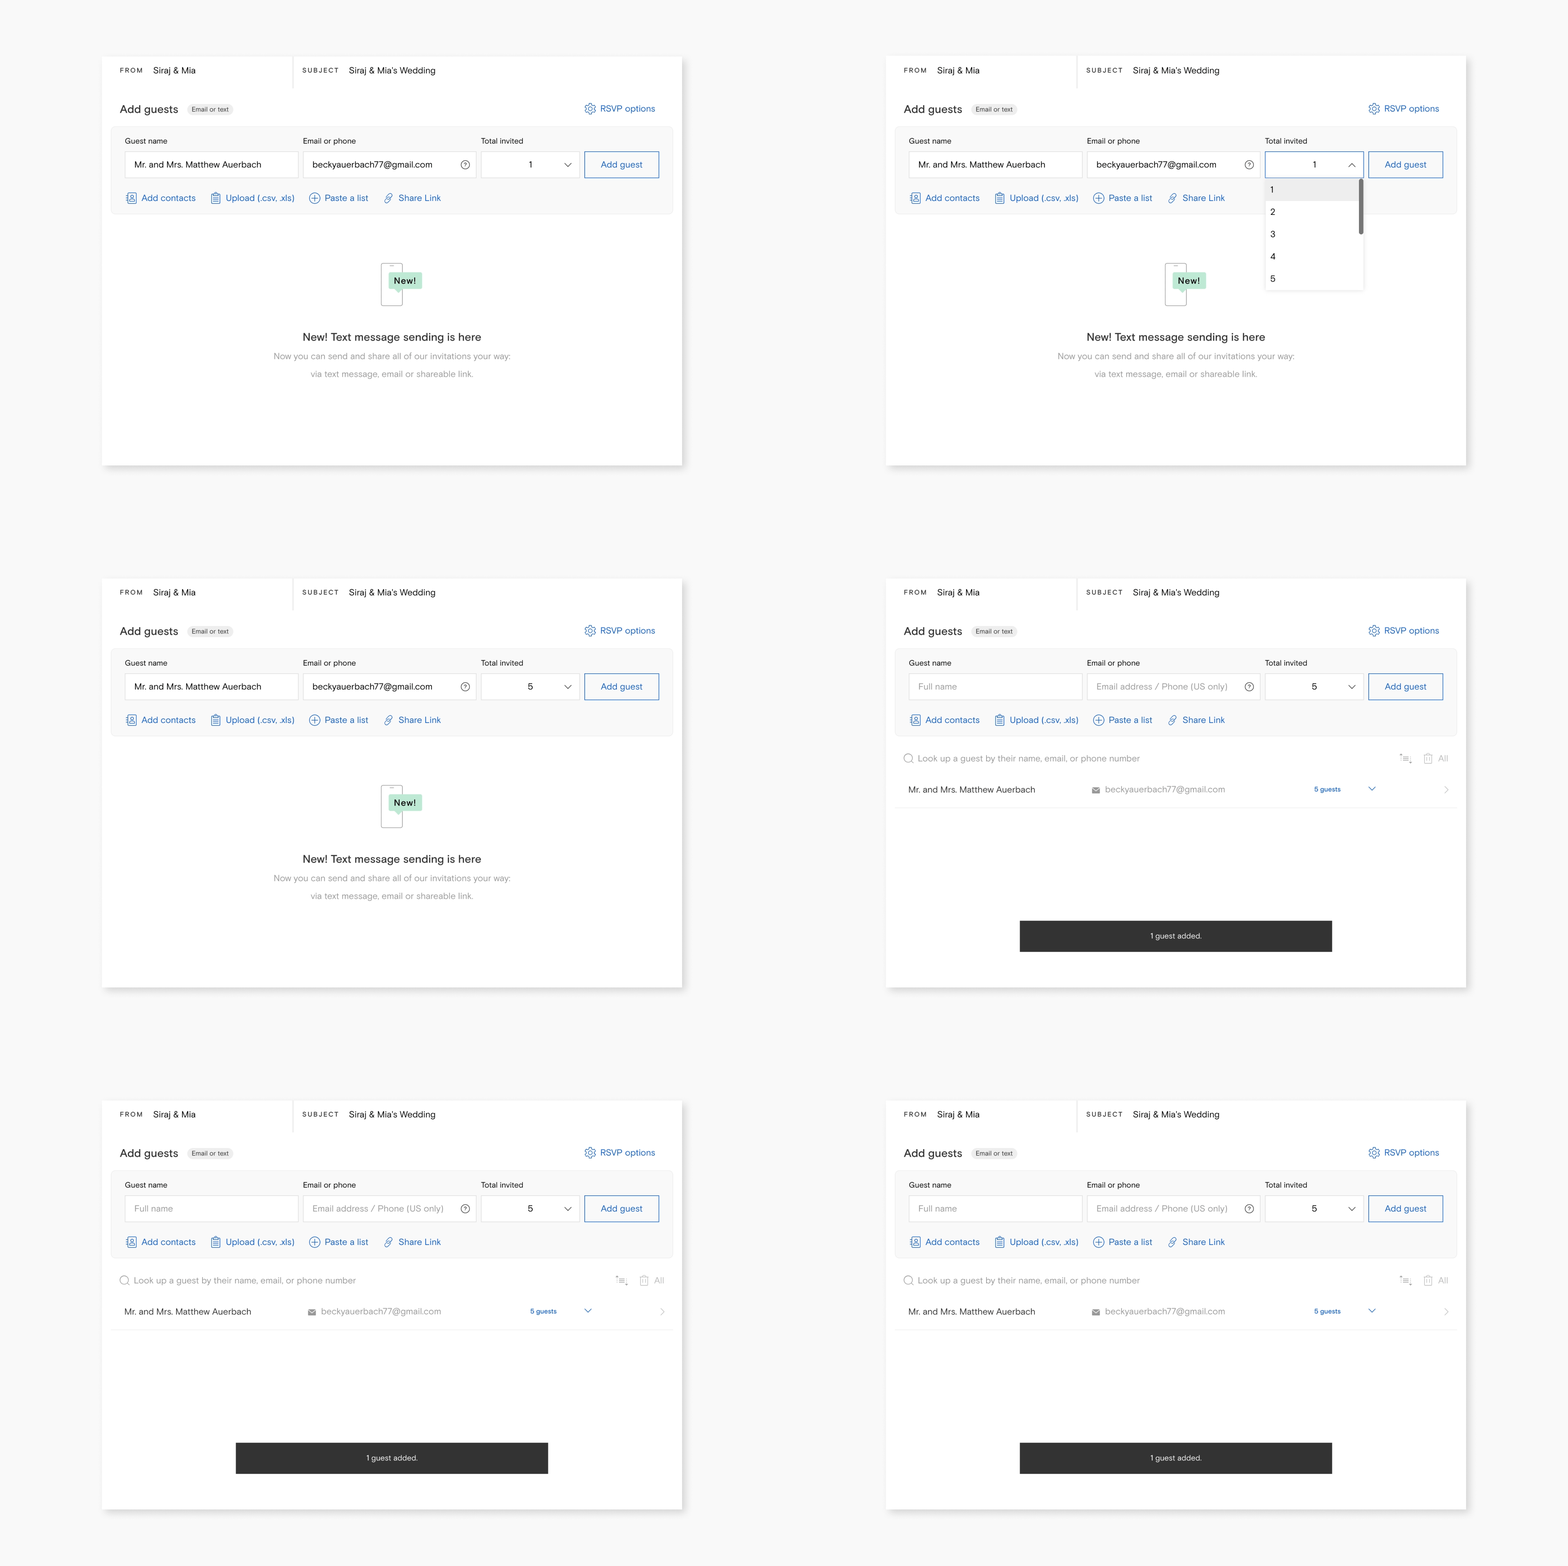
Once you’ve finished creating your invitation and setting up your wedding website event page that captures the spirit of your style—and includes all the essential information for your celebration, it’s time to add your guests and their preferred method of contact—email, text message, or link. Whether your wedding is a 200-guest extravaganza or an intimate ceremony of close friends and family, Paperless Post wedding invitations make it easy to track your RSVPs.
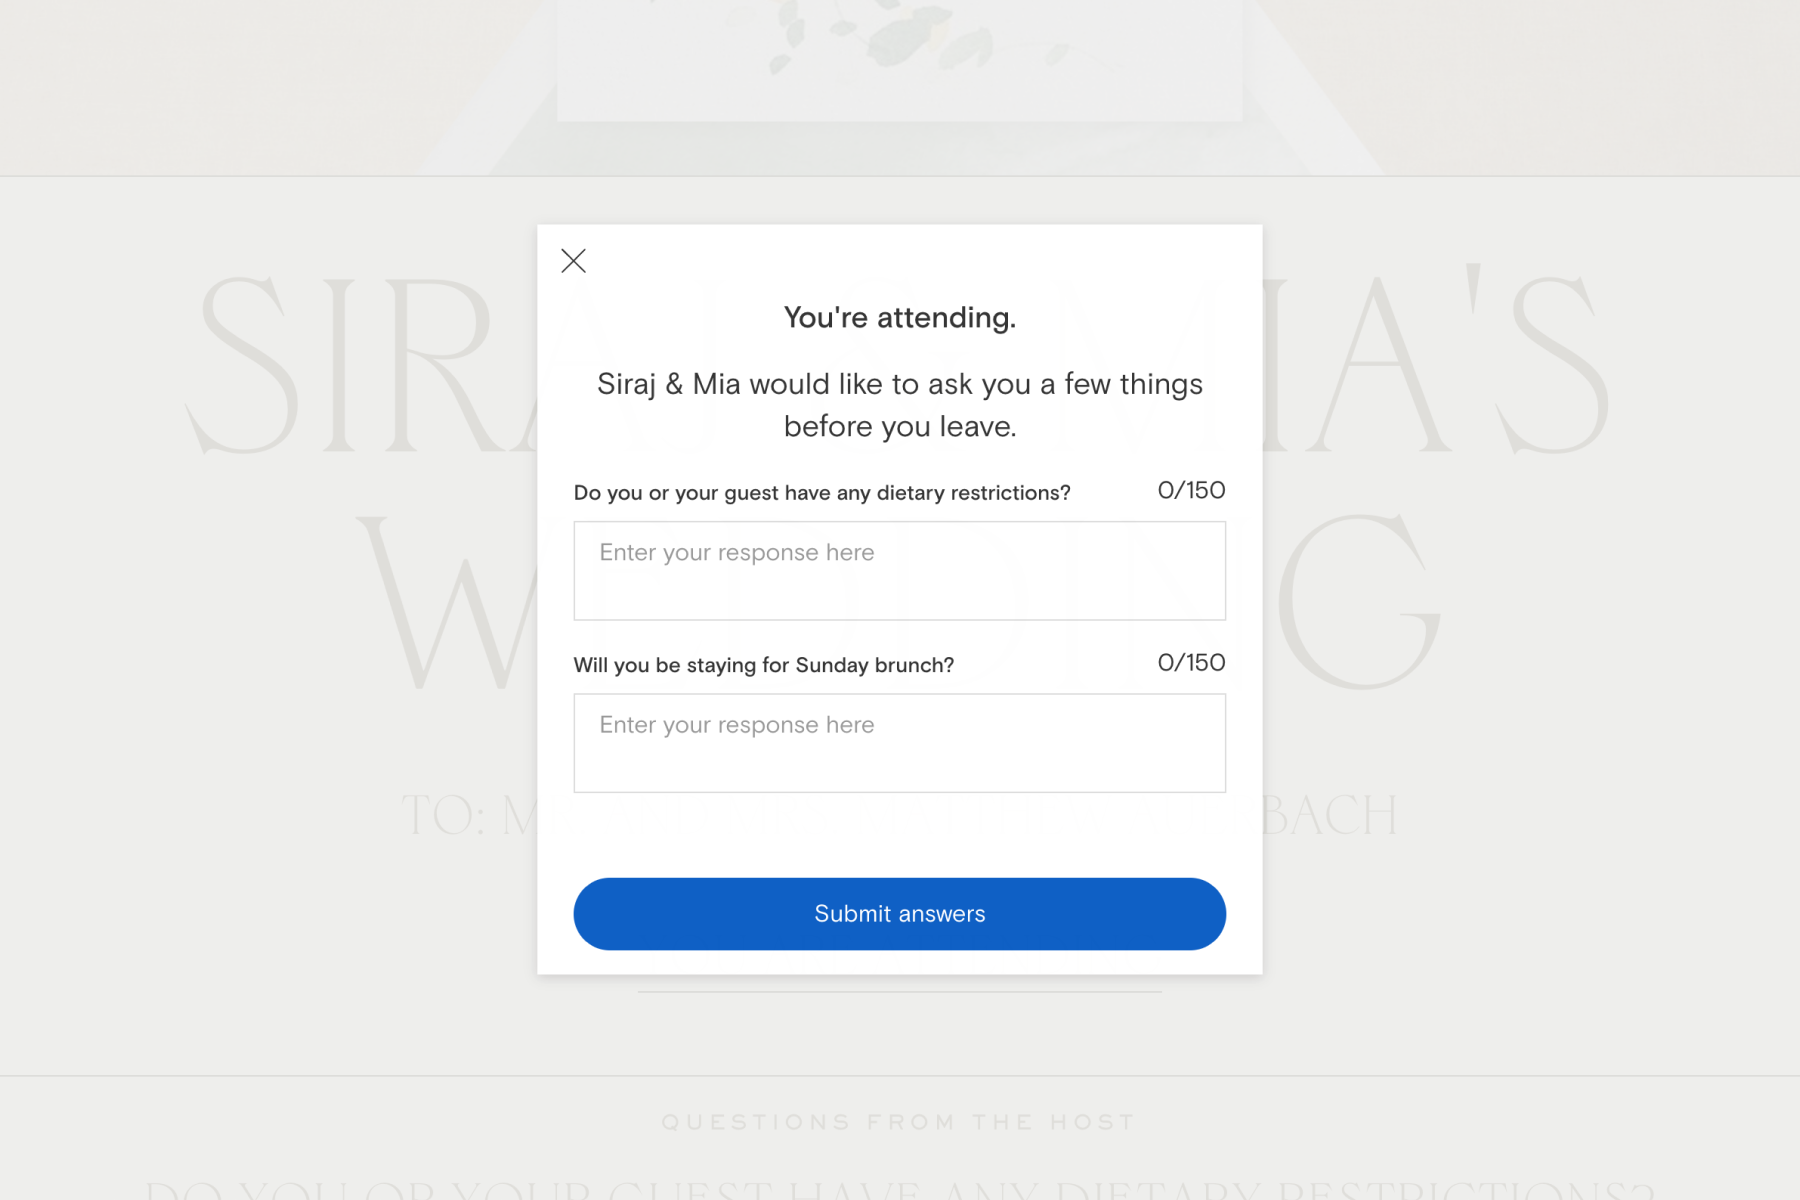
There are many ways to add a send-list: Add guests one by one, via a pasted list, or upload a .csv file and let our guest management platform do the rest. If you need help addressing your wedding invitations, we’re here to help. Once your list is in place, choose how many people are invited via each invitation (this is a great tool for plus-ones and families). Include guest questions with each invitation, from dietary restrictions to whether guests will be staying for the Sunday brunch.
And now, it’s time to share your invitation and wedding website!
Pro Tip: If you’ve sent another invitation for your welcome dinner, wedding brunch, or other weekend activities (field day, anyone?), you can link to your main invitation and wedding website easily by choosing the “Share a Link” option on the Manage page. Then, add that link as a Block and direct your invitees to your main wedding website for more information.
8. Collect RSVPs
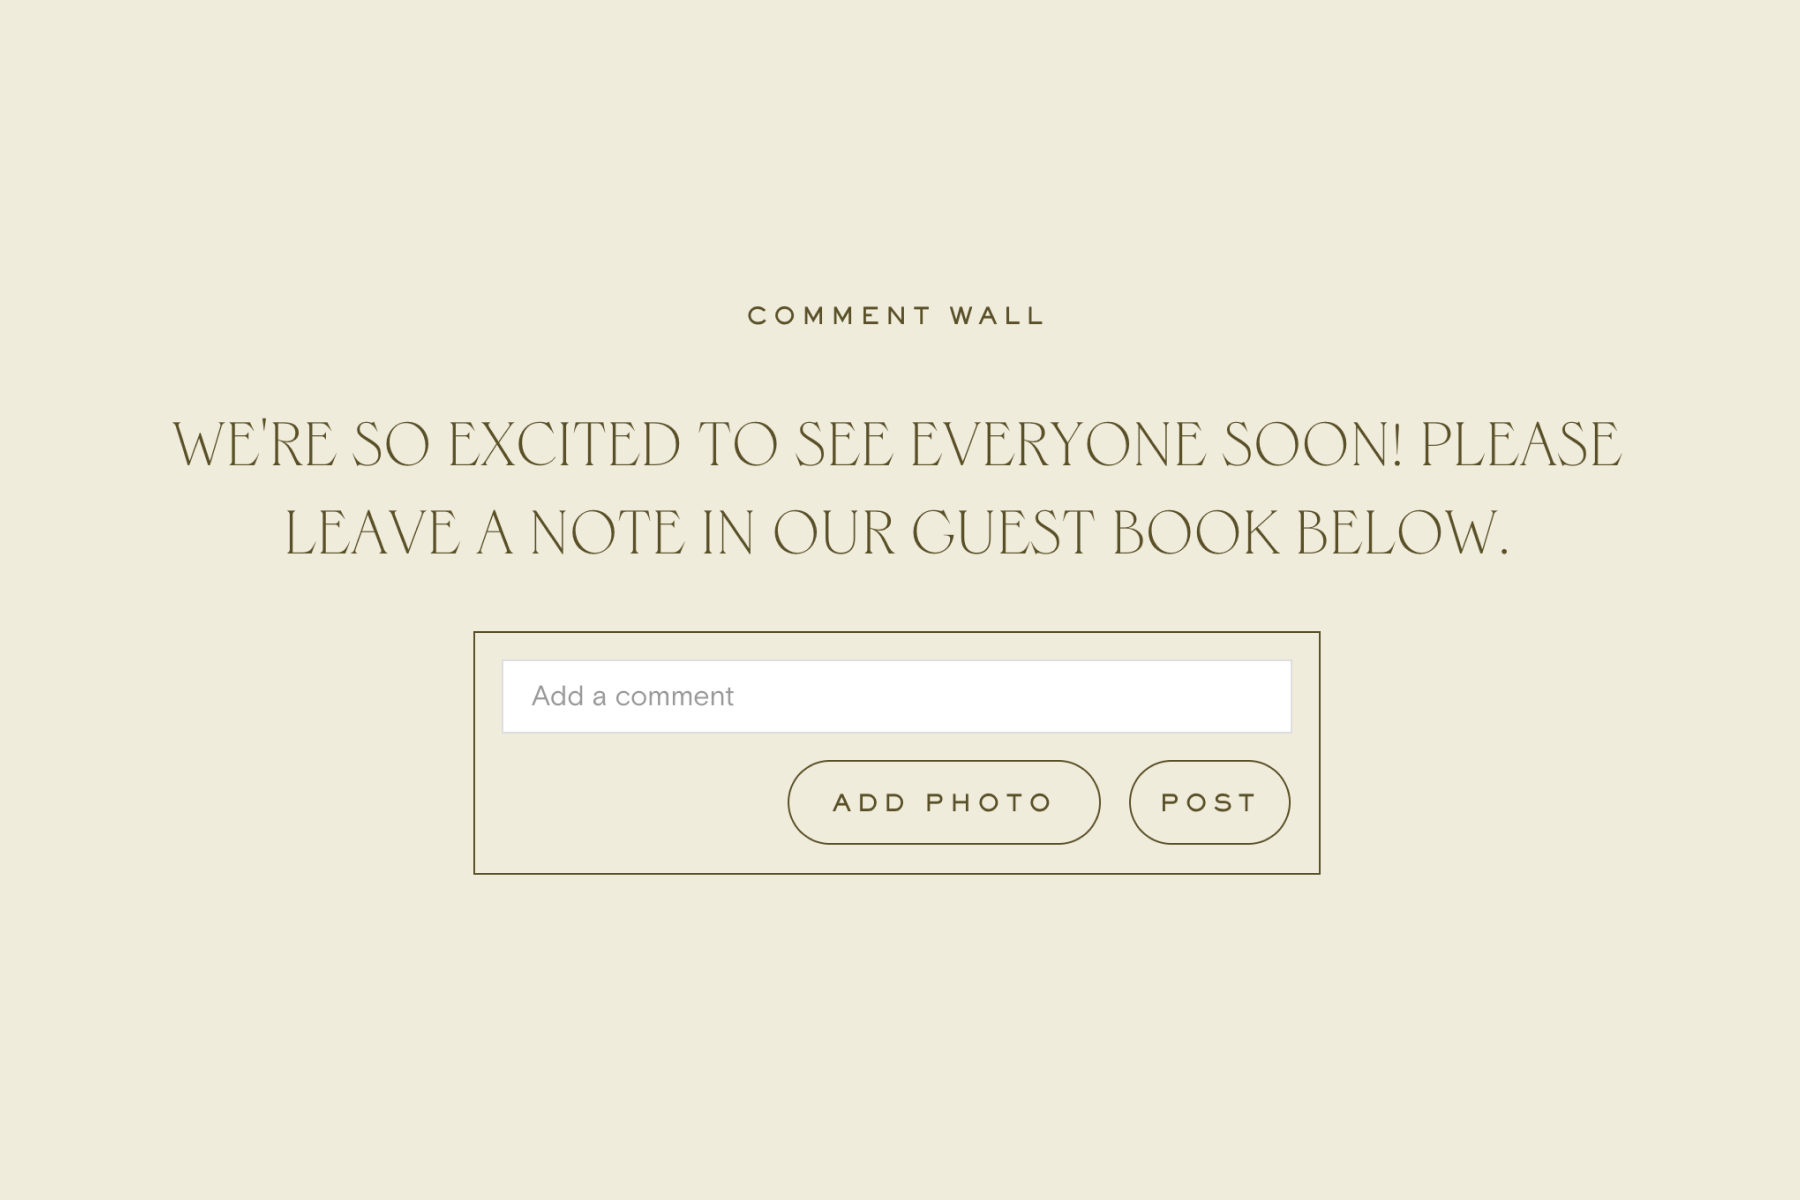
This one’s easy. When you use Paperless Post to plan your wedding, we take care of tracking RSVPs for you—so you can just sit back and enjoy watching all those “yes”es roll in for your big day. If you want, you can enable the Comment Wall to use as a guestbook feature. When guests RSVP, they can send you well wishes privately or publicly, and add photos of special memories together.
9. Keep guests updated
Now that you know how to make a wedding website with Paperless Post, it’s easy to keep your guests informed of any changes or reach out to those who’ve yet to RSVP. Select “My Events” under your account on the homepage to go to your event page, and click “Messages & reminders.” From here, you can send broadcast updates to all guests, as well as private messages to individuals. Download our mobile app to get that ping of excitement every time a guest replies!
Wedding website FAQs
How should I word my wedding invitation?
Deciding what to write on your invites is easy with our guide to wedding invitation wording. Wording things as directly as possible is best to avoid confusion and misunderstanding.
In addition to helping you find the right words to write, these wedding invitation ideas will give you even more inspiration for customizing and creating invitations that are as special as the occasion itself.
How can guests let me know about any dietary requirements?
When finalizing your wedding invitation, you can set up questions that will automatically be sent to guests about any dietary restrictions or special requests they may have. Then, you’ll be able to plan for any requirements, like requests for gluten-free or vegetarian options, when they RSVP.
How do I edit the details of my wedding website?
Log into Paperless Post, and you’ll see a drop-down menu appear when you hover your cursor over your name. Select “My Events,” and you’ll navigate to a list of your invitations and events. Clicking the three dots will bring up a menu where you can add guests, change the design of your invitation, edit your invitation details and Blocks, and track RSVPs.
Will my wedding be the best wedding ever?
Obviously!
